How To Add a Payment Method on goLance
In this post, goLance will walk you through adding a payment method on your goLance account. Payment methods are used to fund your goWallet, so you can pay freelancers for their services on your contracts.
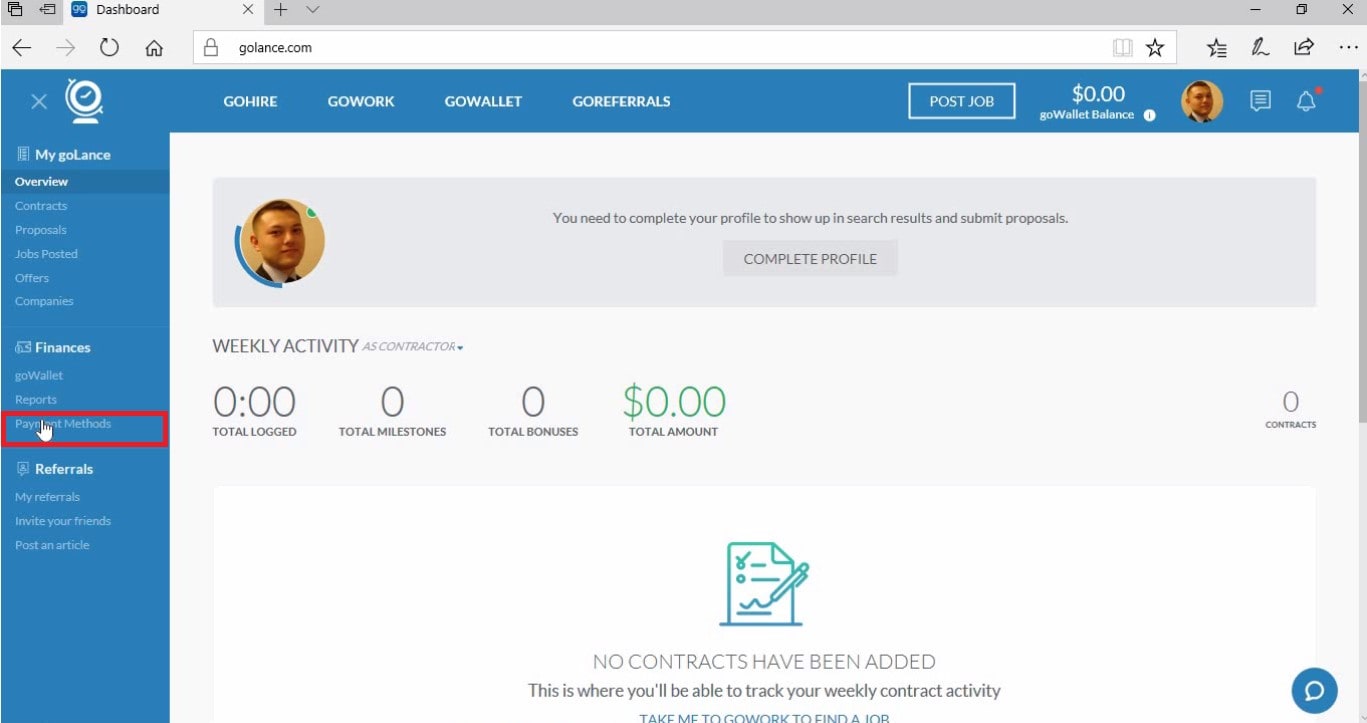
The first step is to login to your goLance account. From your dashboard and overview page, look at the menu on the left side of the screen, and then click on
"Payment Methods" underneath the "Finances" heading.
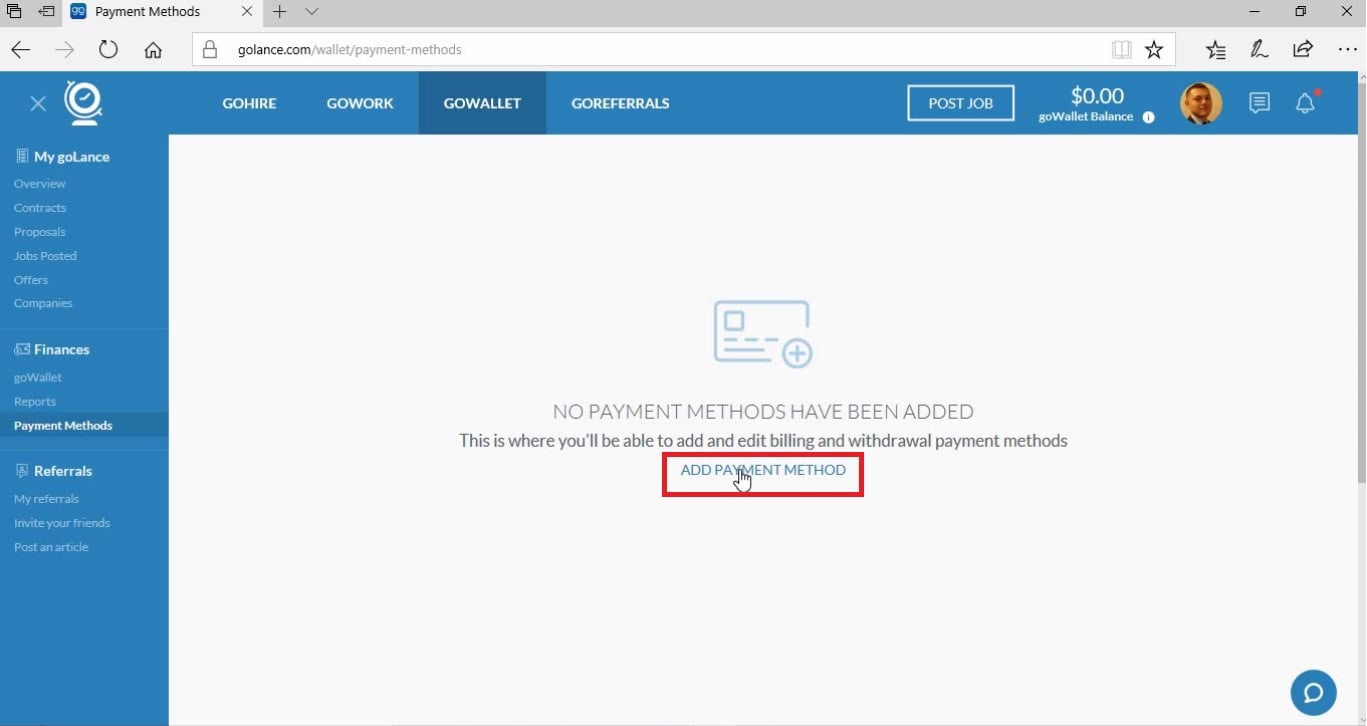
You will be brought to a page that displays "No Payment Methods Have Been Added," click on "ADD PAYMENT METHOD."
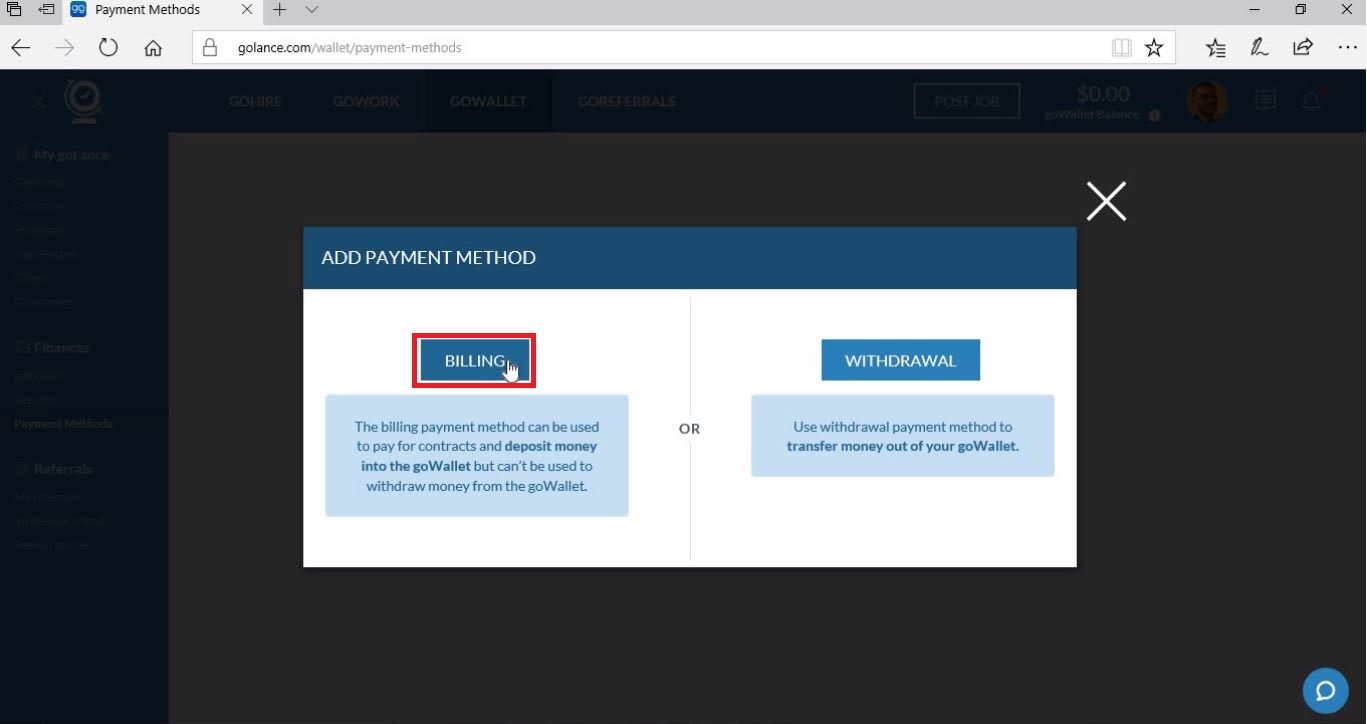
A window will pop-up, asking whether you would like to add a "BILLING" or "WITHDRAWAL" method. Click on "BILLING."
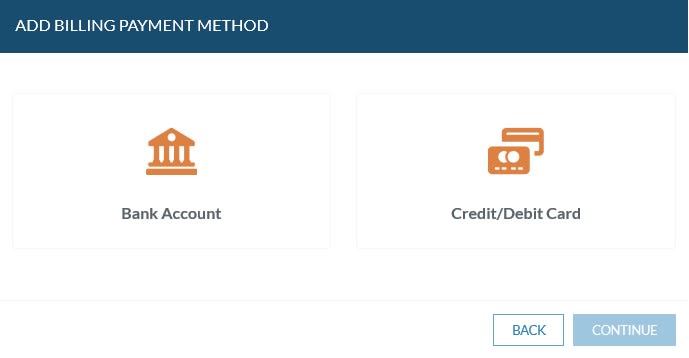
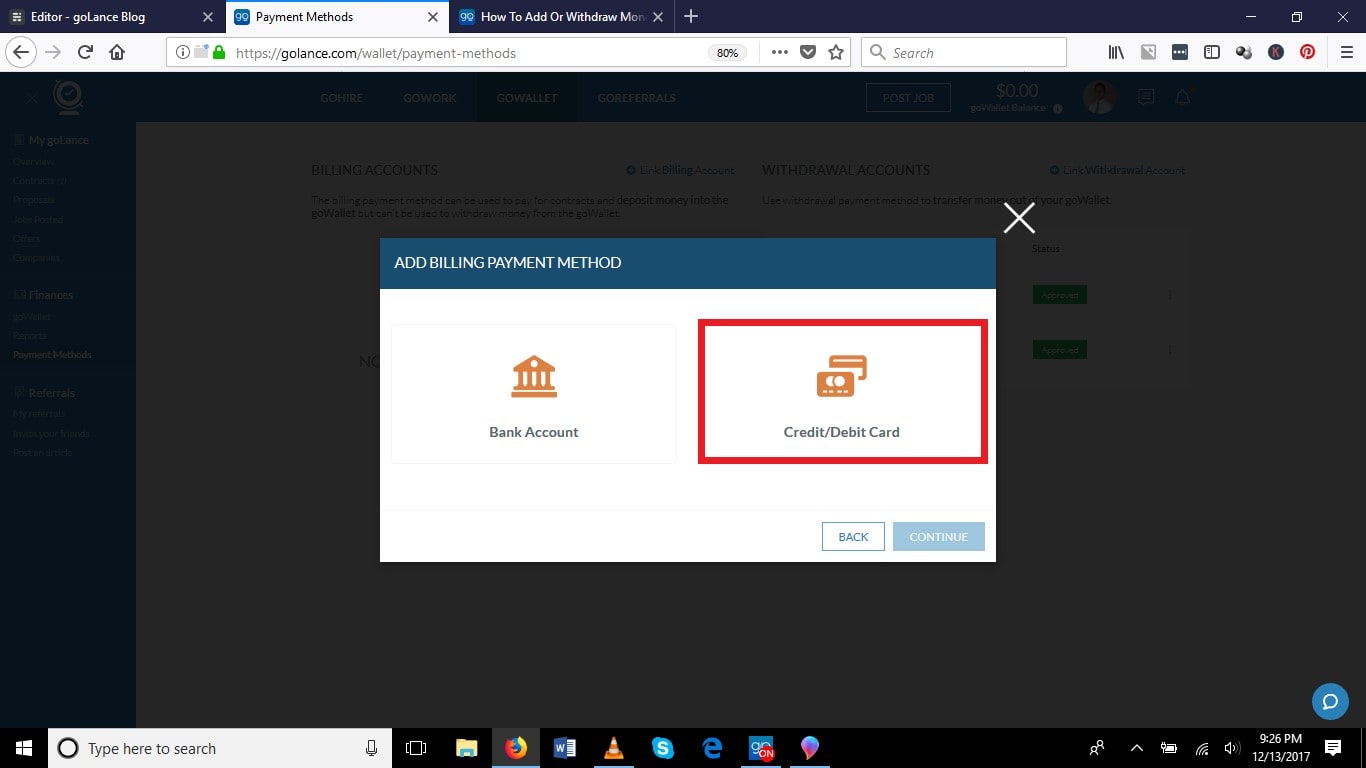
Next you will be asked whether you would like to add a BANK ACCOUNT or a CREDIT/DEBIT CARD. Choose your desired method of payment. This post covers both methods.
Adding a Bank Account
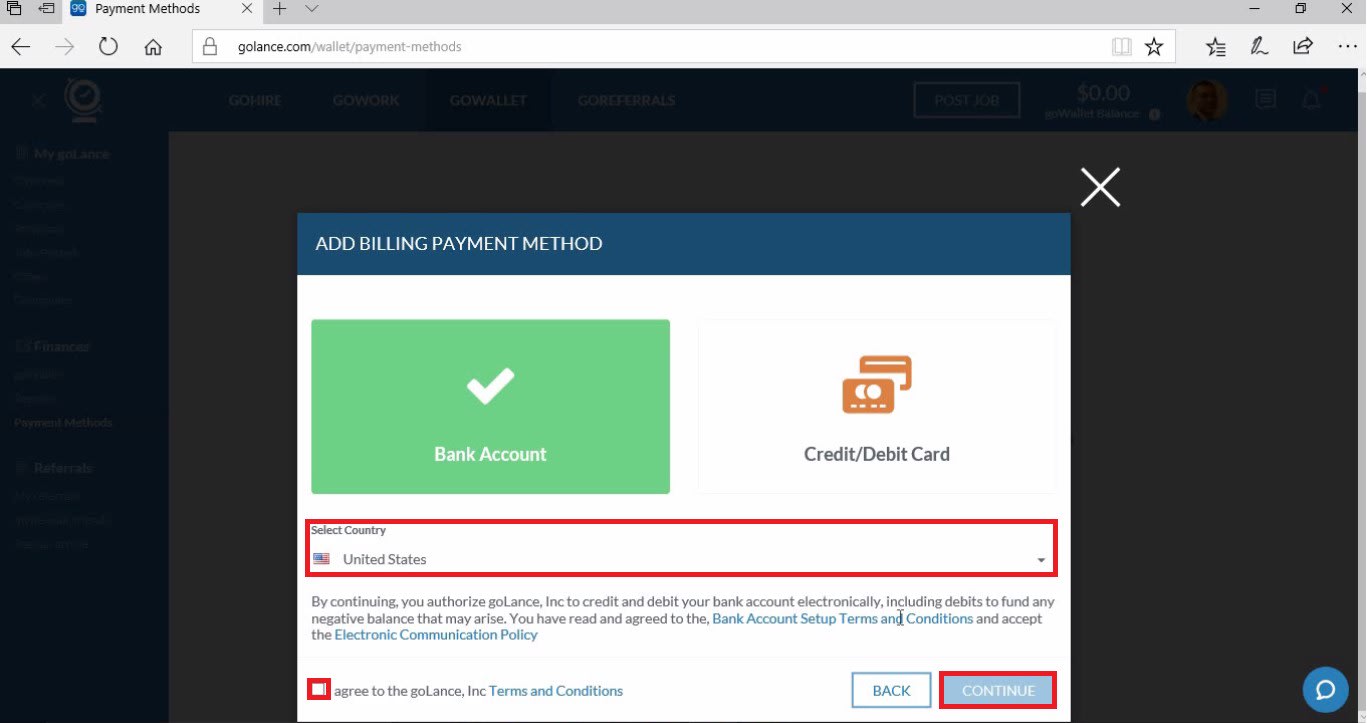
Click on "Bank Account"

On the next screen, you will need to select your country, check the box agreeing to the terms and conditions of goLance, and then click CONTINUE.
Another window will pop-up asking you to select your bank. If your bank's icon is not displayed, simply search for it in the Search bar.
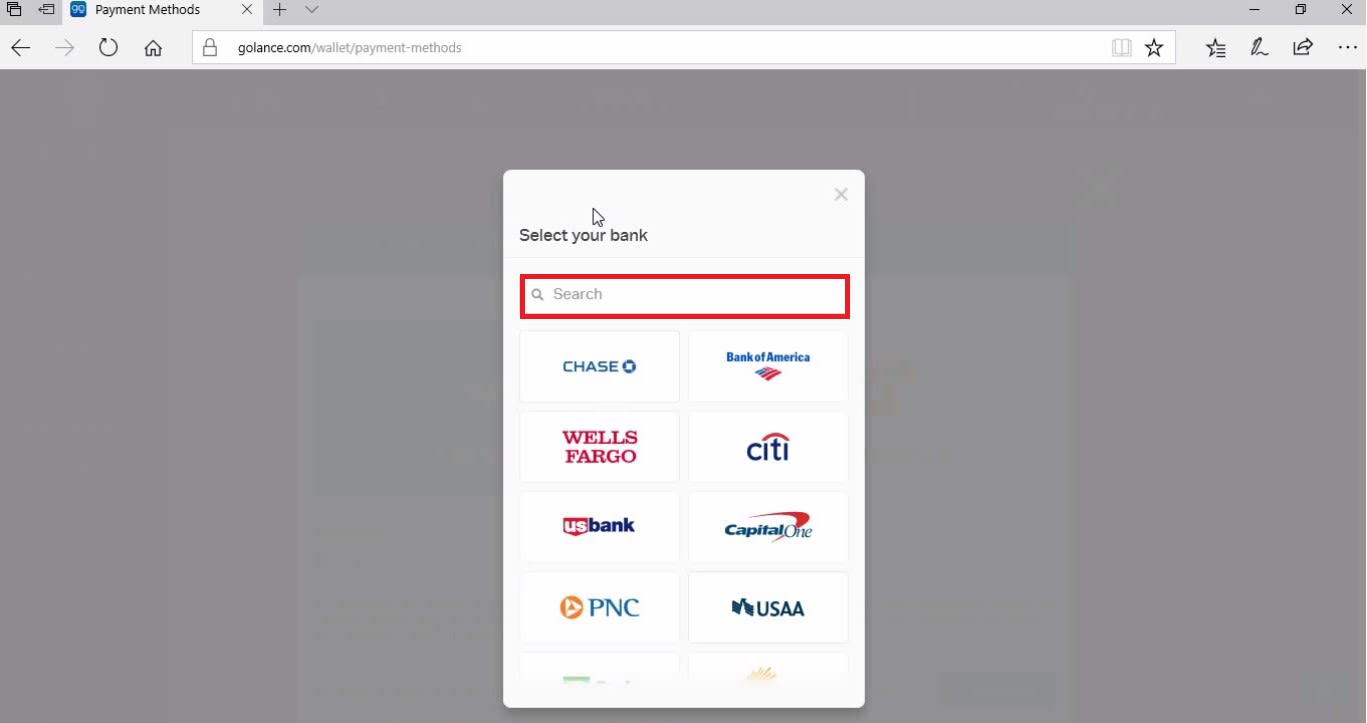
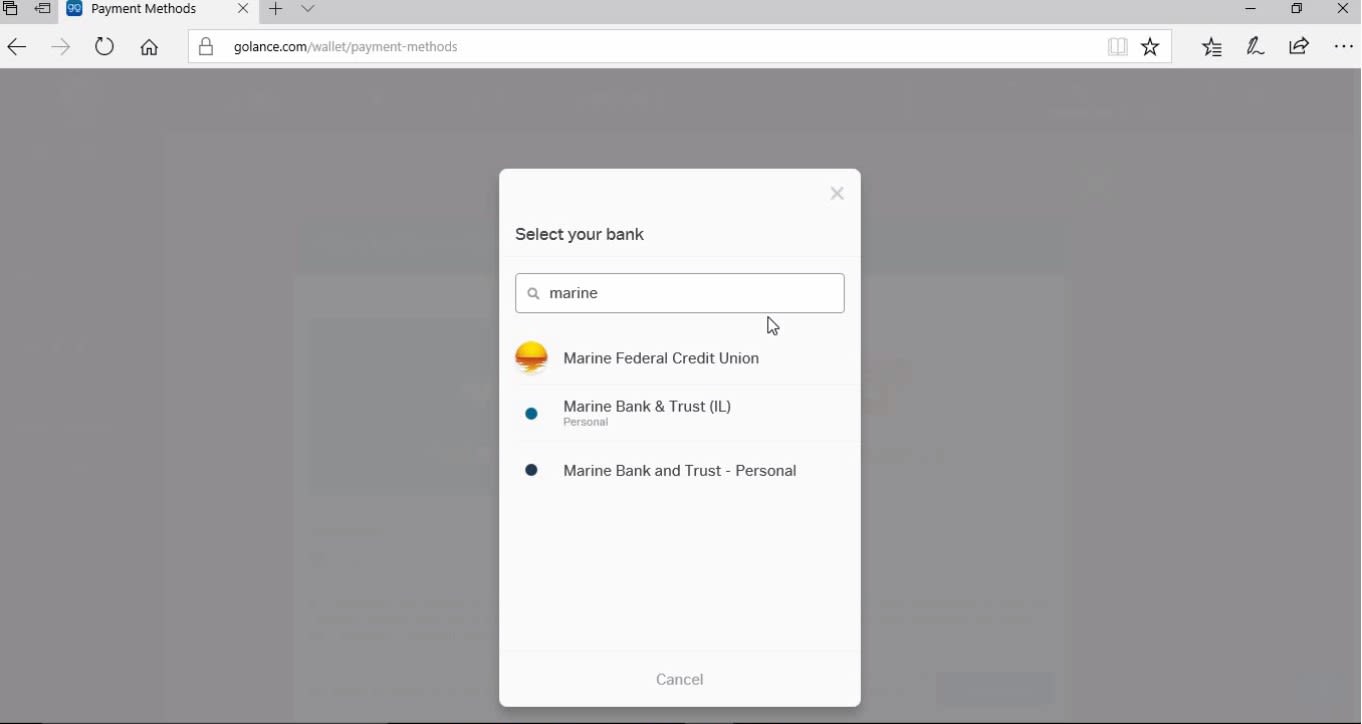
If you're searching for your bank, it will automatically display as you are typing the name. Click on the bank's name.
Once you select your bank, the window will display the login for your bank account. Enter your user name and password, and wait for goLance to verify your credentials through your bank.
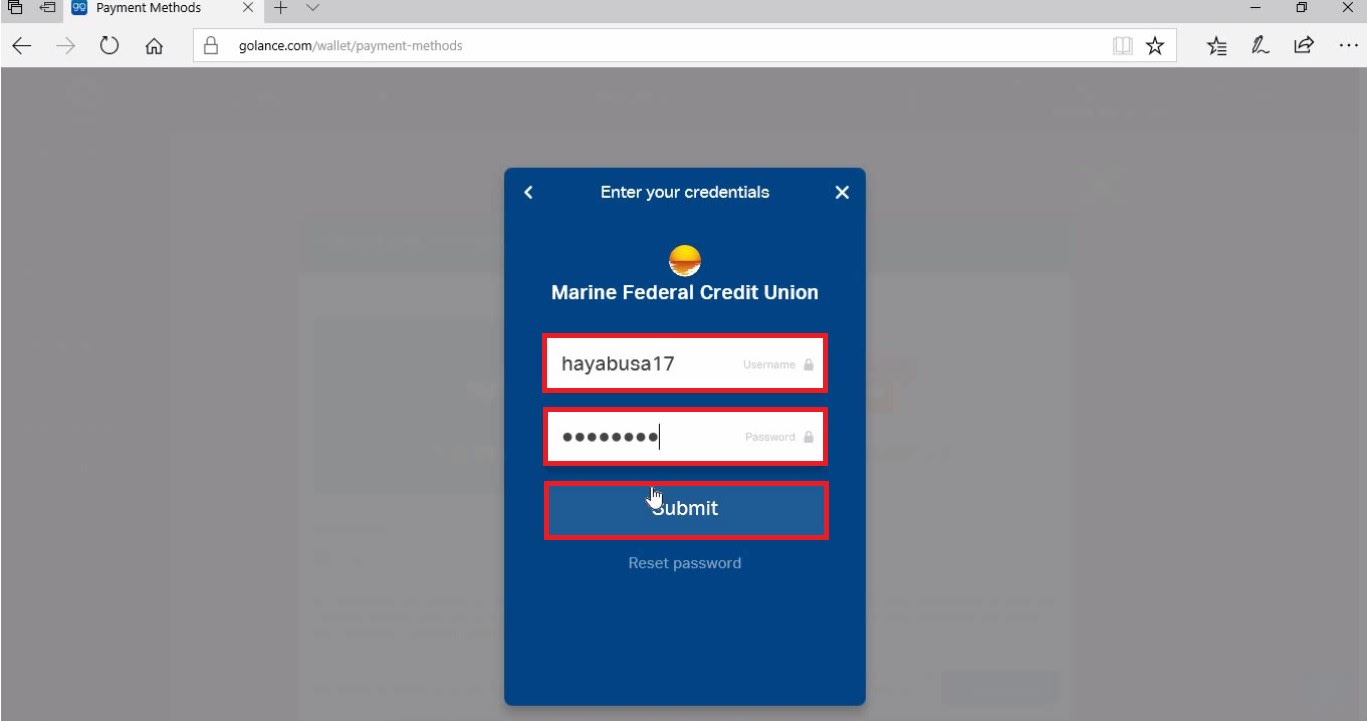
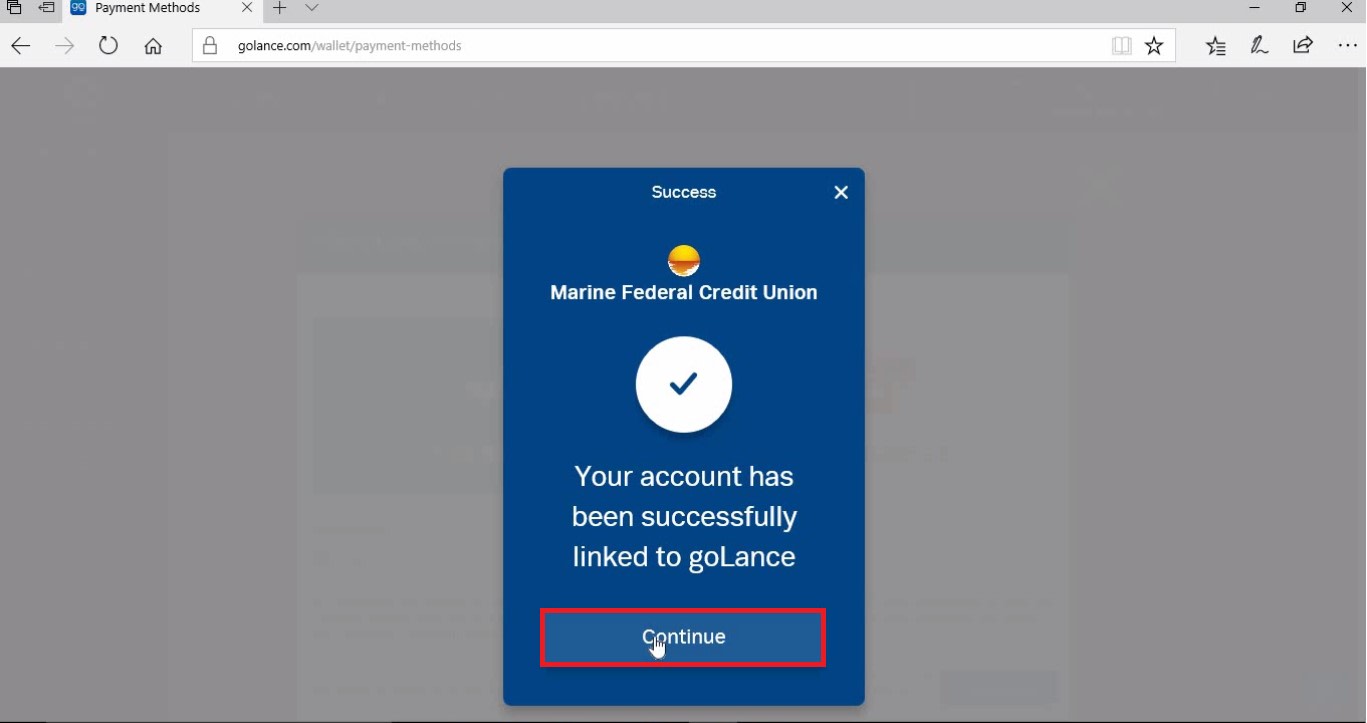
After a very short wait, a confirmation will display, click "Continue."
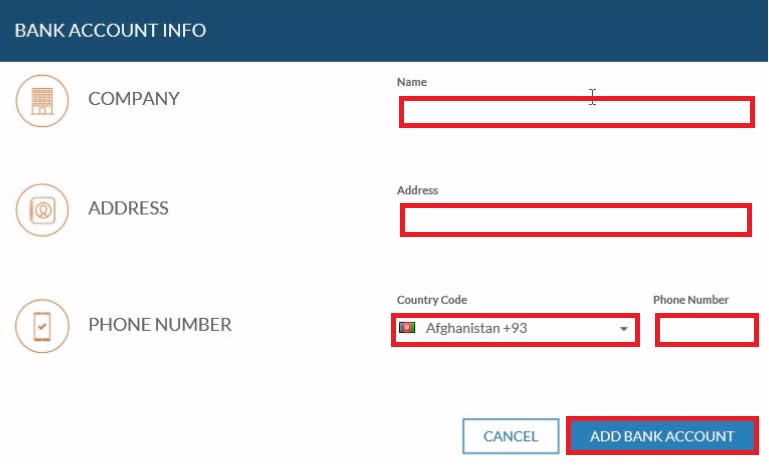
Another window will display, requesting your name, address, and phone number. When you have completed the form, click "ADD BANK ACCOUNT."
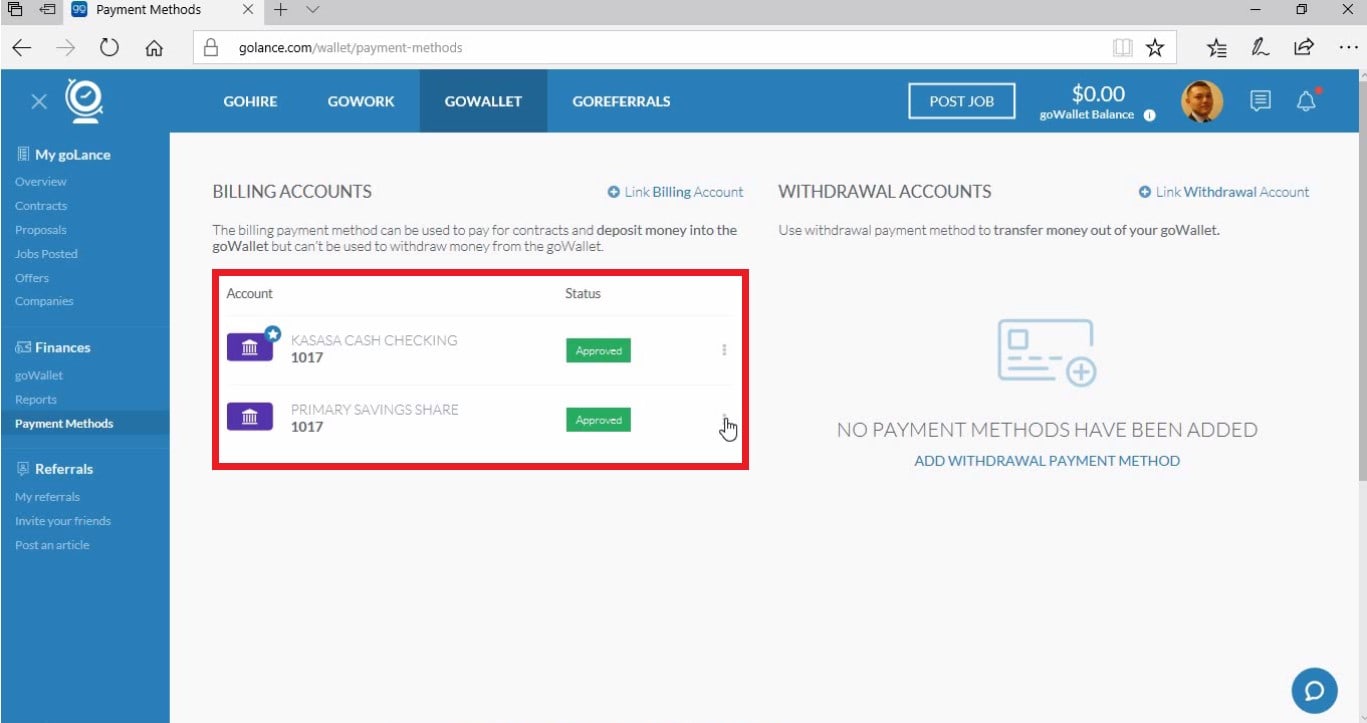
After submitting this information, you will return to the "Payment Methods" page, displaying your BILLING ACCOUNTS and WITHDRAWAL ACCOUNTS.
How To Add A Credit/Debit Card
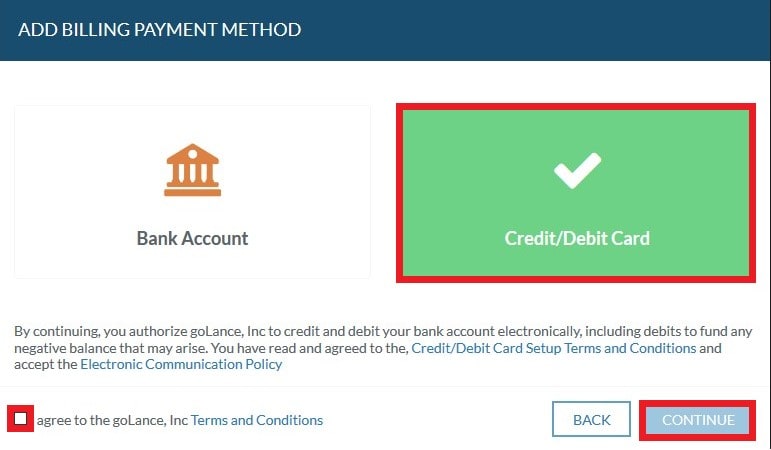
When adding a credit/debit card, click on "Credit/Debit card."
After the box turns greens, click the box in the lower left, accepting goLance's terms and conditions, and then click "Continue."
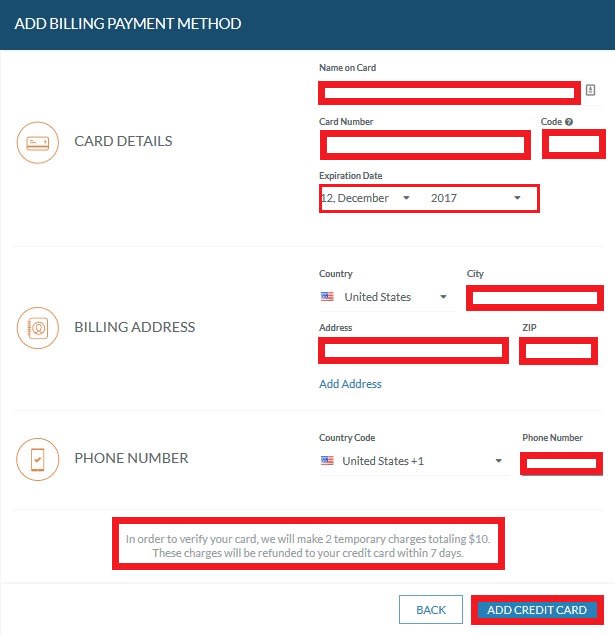
Simply enter your card information, and ensure that you read the statement regarding withdrawals. goLance will make two withdrawals totaling $3. When you are finished, click "ADD CREDIT CARD."
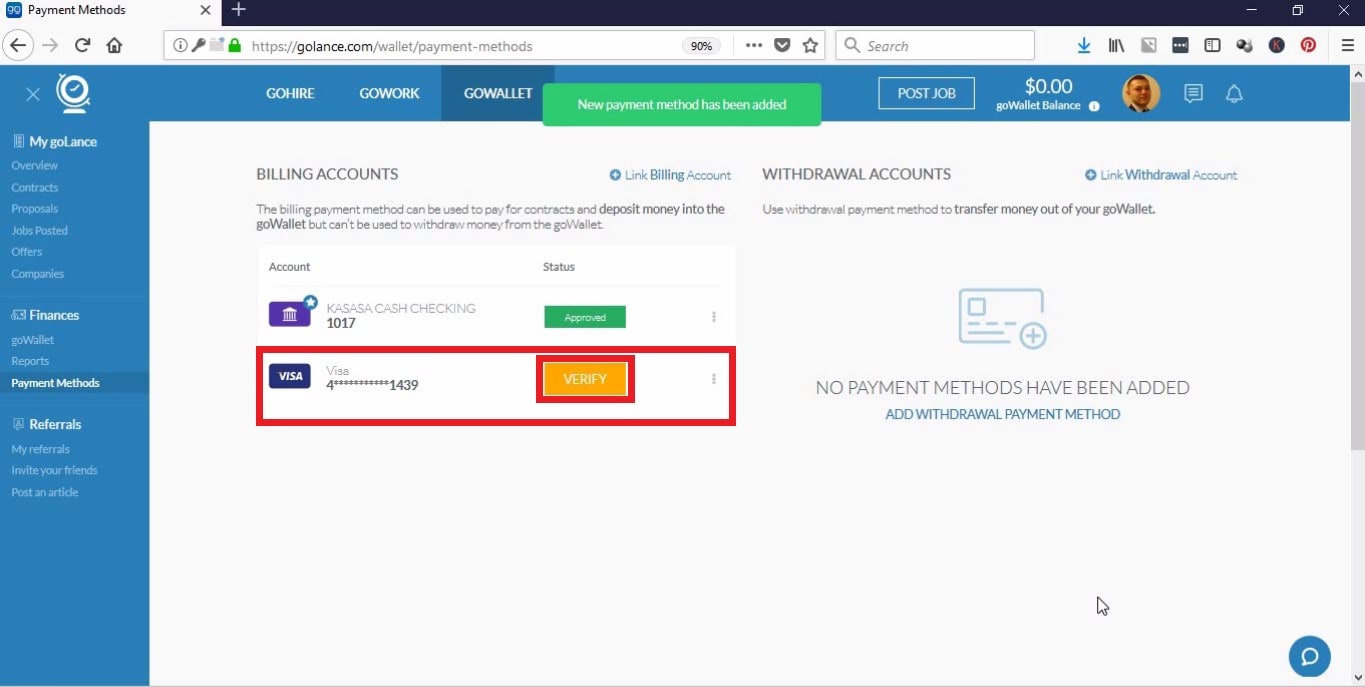
Once you have completed this form, you will return to the original page for adding payment methods. Your credit or debit card will be displayed with a yellow button labeled "VERIFY."
After goLance has made the two withdrawals totaling $3, you need to click "VERIFY" and then enter the two amounts.
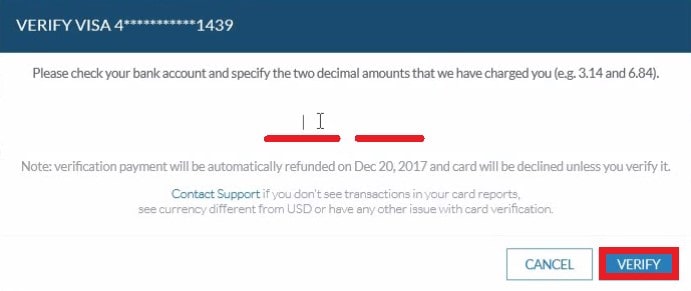
Once you have completed the verification process, you will then be able to fund your goLance goWallet with your credit or debit card.
One of the many benefits to goLance is having the "Payment Method Verified" icon, which displays on your profile after adding a bank account or credit/debit card.
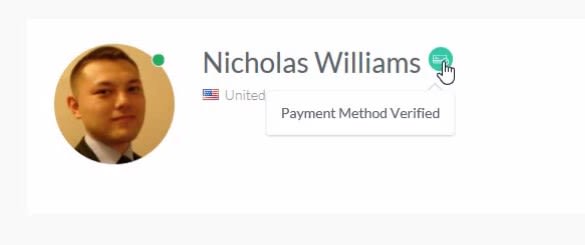
When you post a contract and are looking to hire freelancers, they will pay attention to this icon. Freelancers want to know if you, as a client, will honor your claims to pay for their services.
Another great benefit to using goLance is the Cashback program. Using a bank account entitles you to a whopping 2% cashback from all of the money that you spend through the goLance platform. Using a credit/debit card will result in 2%. It is literally free money from simply using the goLance platform to find and hire freelancers.

If you have any questions, please leave a comment on this post.
Thank you for working with us.